
Artist Jennifer Morrison creates beautiful, hyper-realistic colored pencil drawings. Follow along to Jennifer’s video tutorial as she shares her process for drawing a hyper-realistic hydrangea using Lyra Rembrandt Polycolor pencils.
Supplies:

- Strathmore 400 Series Printmaking Paper, 280gsm, medium textured soft surface
- Lyra Rembrandt Polycolor Pencils in
- Delft Blue
- Violet
- Light Violet
- Deep Cobalt
- Blue Violet
- Dark Violet
- Sky Blue
- Magenta
- White
- Dark Gray
- Princeton Select Artiste Flat Shader Brush, Size 2
- Colored Pencil Solvent
- Mini eraser & electric eraser
Lyra Rembrandt Polycolor pencils are oil-based, waterproof, light-resistant, and come in 72 vibrant colors. They blend and dissolve beautifully with solvents, which is an important element of Jennifer’s colored pencil work.
Strathmore 400 Series Printmaking Paper is heavy weight at 280gsm and has a medium textured surface that’s great for building up layers and blending colored pencils.
Colored Pencil Testing and Swatching
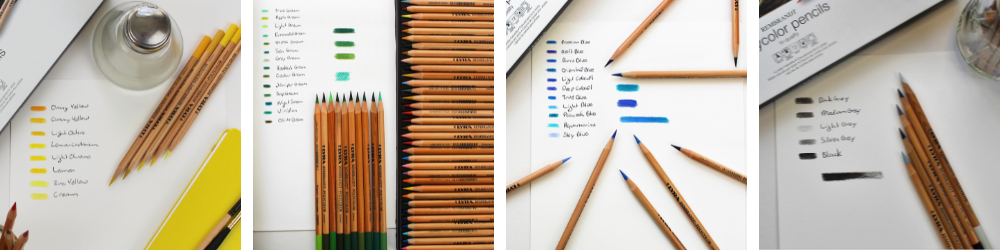
Any time Jennifer is trying out new pencils she swatches them on the same paper she will be doing her drawing on for accurate color representation since colors can look different between paper types. To test the pencils, she separates them into color groups and creates small swatches with the pencil color name next to it.
Watch Jennifer’s process for testing and swatching her pencils here:
Colored Pencil Hydrangea Tutorial
Follow along as Jennifer shares her tips for drawing this beautiful purple and blue hydrangea. Jennifer acknowledges this reference image may appear really intimidating and like there is a lot going on, but this means you can make a mistake and it won’t be very noticeable. If one petal is slightly off or the wrong color, no one will ever know. If you break this down like a puzzle and draw one petal at a time, even a beginner will have a spectacular drawing in the end.
Reference Image:
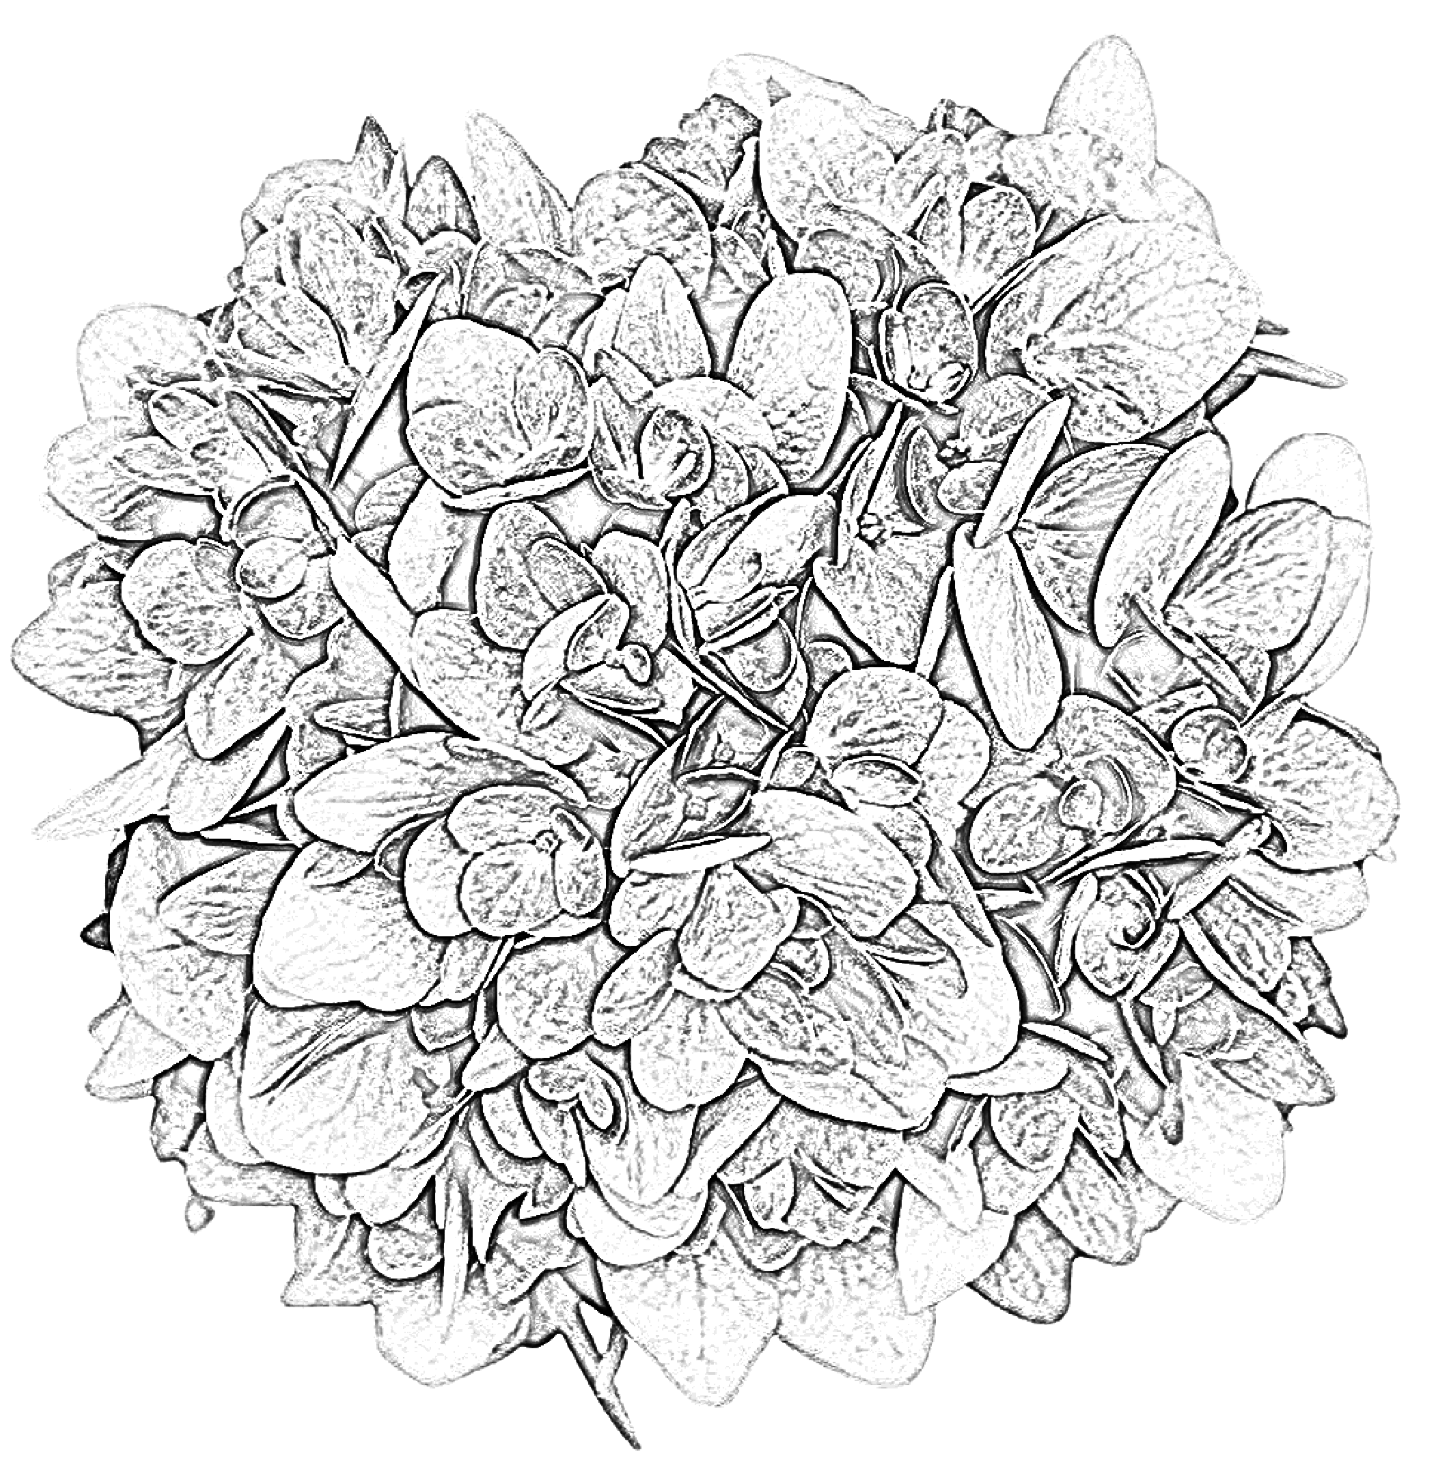
Reference Outline:
Follow along to the video tutorial:
Tips from Jennifer:
Practice your colors on a separate sheet of drawing paper until you find the blends that you are happy with. The pencils blend beautifully, so you should be able to create endless combinations. Jennifer used a lot of deep cobalt for the brightest blue and magenta to brighten up the purples.
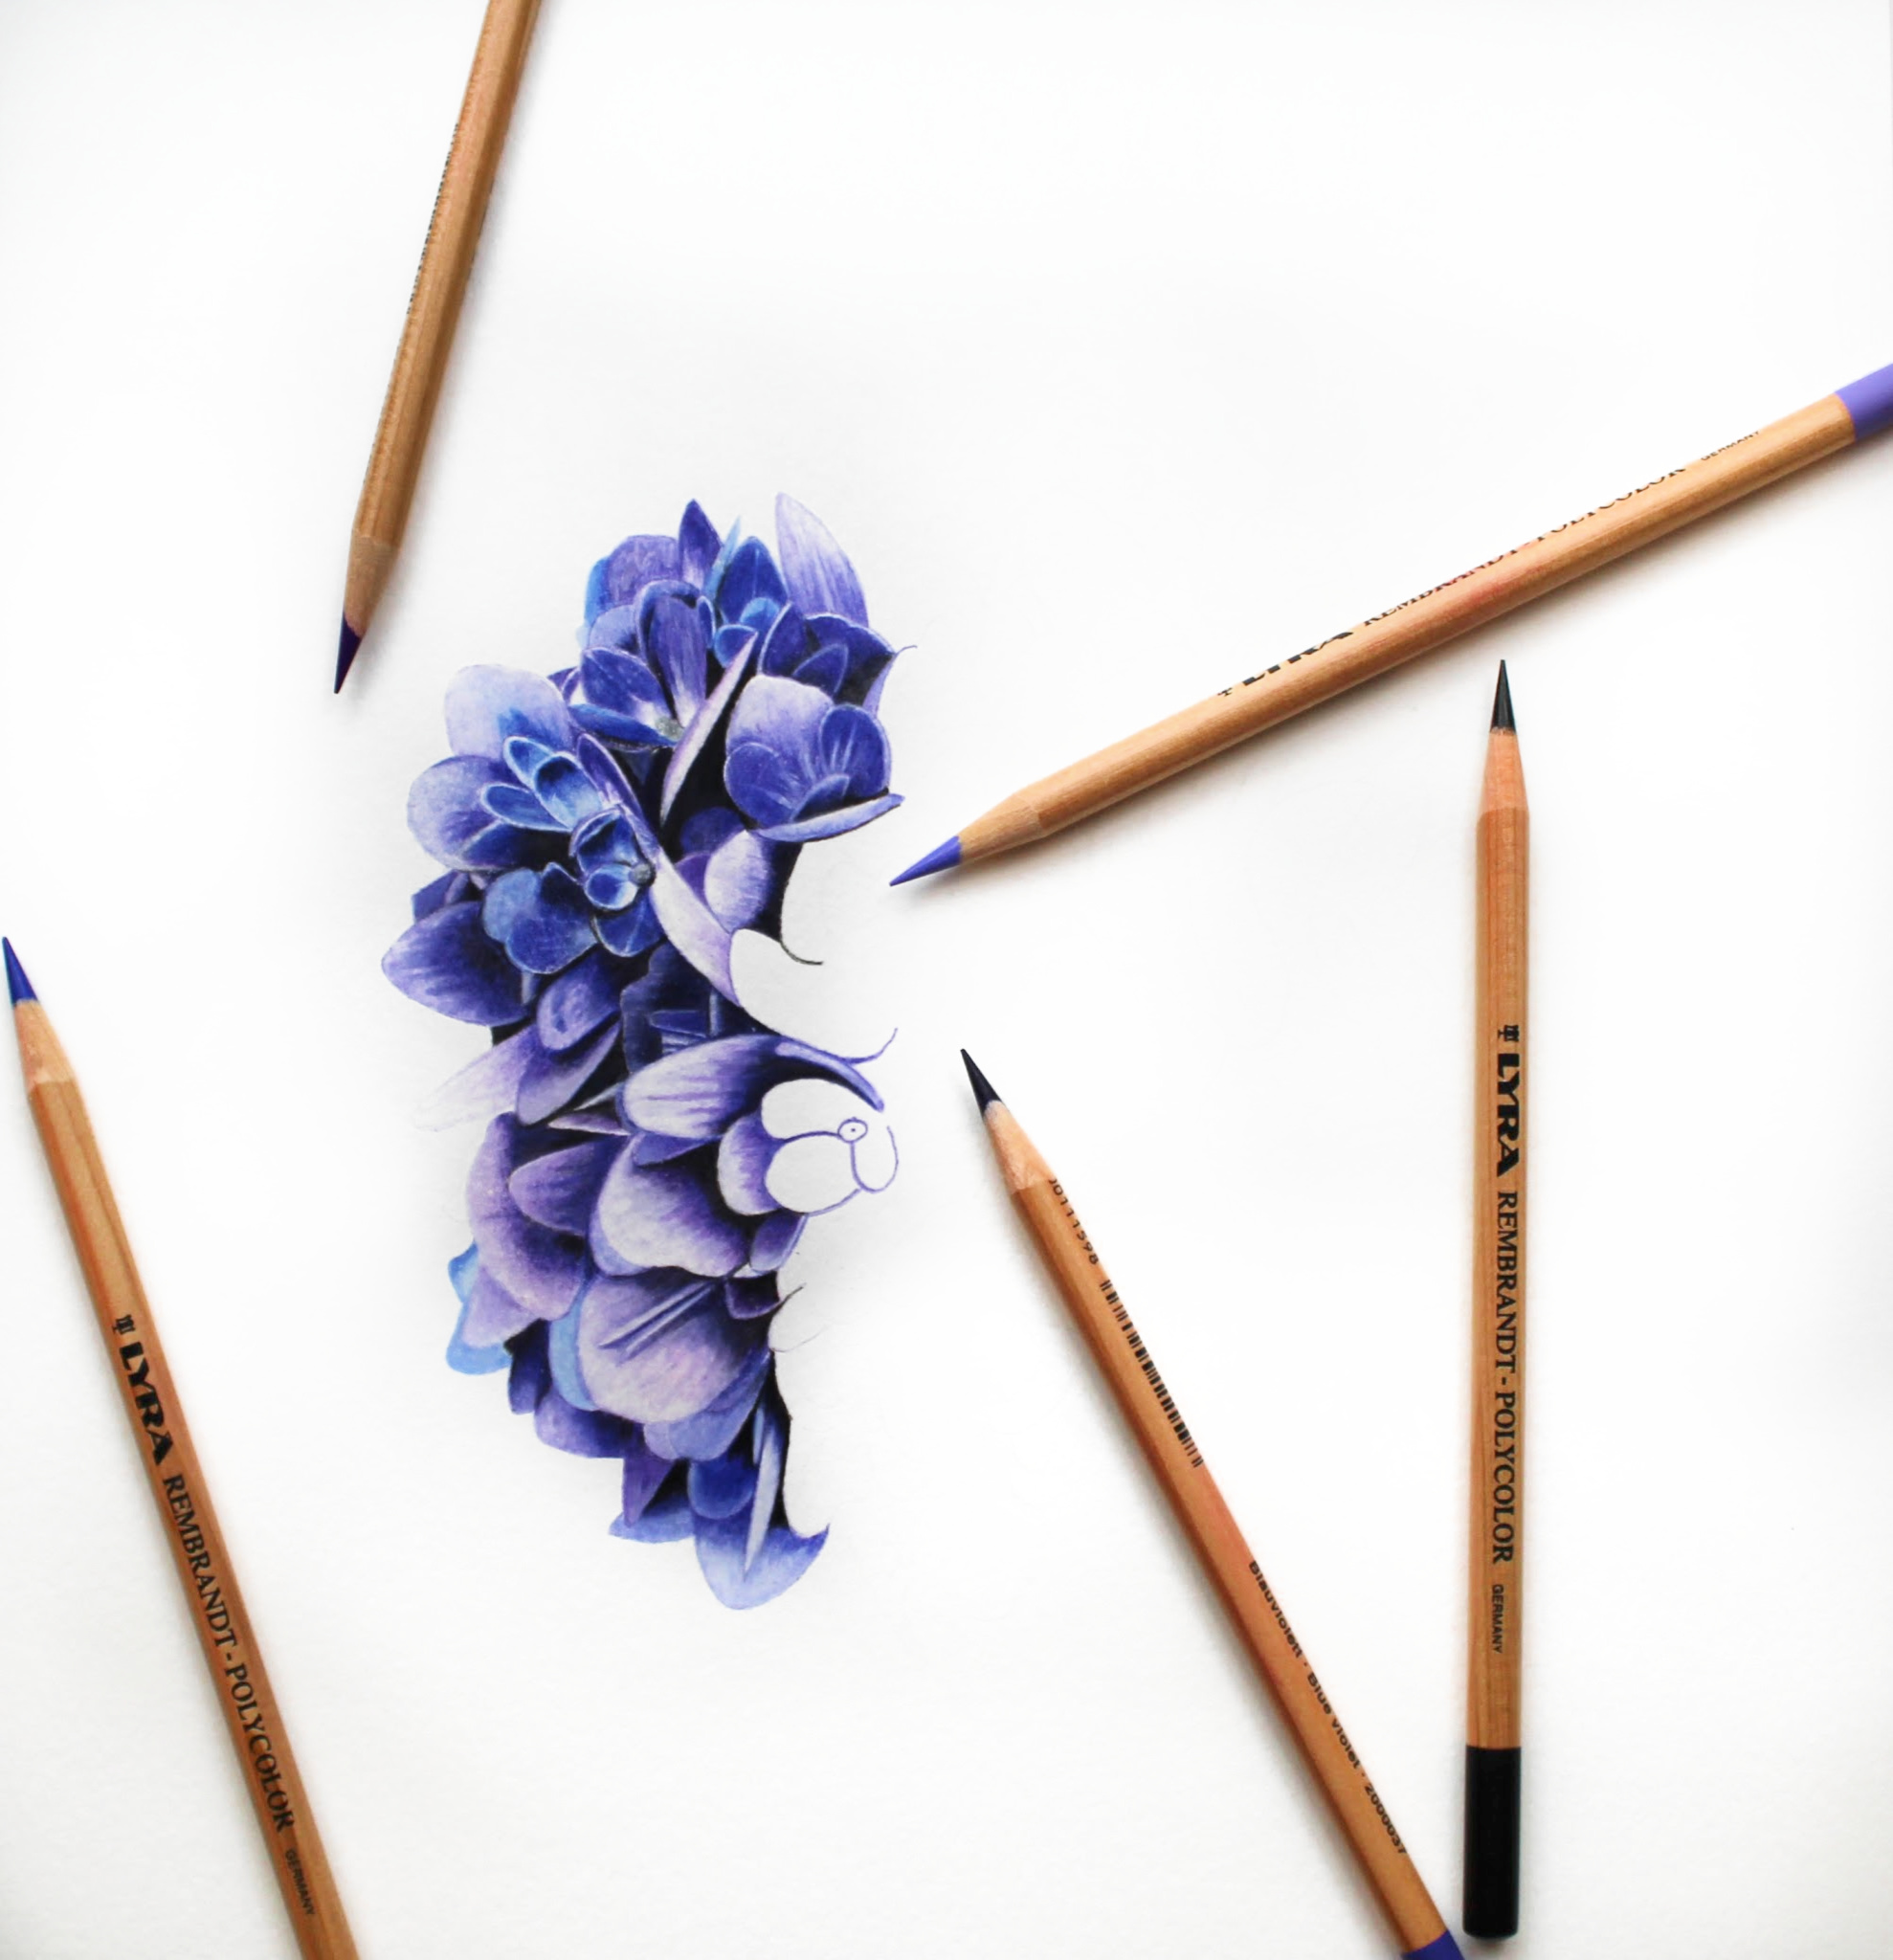
To make each petal standout individual and avoid a big purple blob, Jennifer outlined each petal with a sharp pencil. The Polycolor pencils hold a point very well, allowing for easy sharp edges. Second, Jennifer made each petal a slightly different color than the one next to it, even if it went against the reference image. Last, Jennifer ensured the shadows were dark enough and the highlight bright enough to create contrast.

Jennifer layered black and dark gray on top of the blue and purples in some of the petals to increase the values of those colors and create more subtle shadows on the petals themselves.

Jennifer used the white Polycolor pencil to protect the paper where she wanted the brightest highlights. You can use an electric erase to brighten the highlights even further.


More Stories
Juxtapoz Magazine – Paradigm Gallery’s Grand Opening of New Location in Old City, Philadelphia with Nazeer Sabree and Jason Andrew Turner
Making Art Work | Alex Olson | Episode 925
Juxtapoz Magazine – The Ephemeral Existence of Mayuka Yamamoto