Professional-quality photos have never been more important for showcasing your artwork to potential buyers or making print reproductions. As artists rely more on online sales, it is vital that their images fully represent the artwork. And even for those who shop in-person, beautiful photos on your website and in your marketing materials lend credibility to your work. So how do you take professional-looking photographs of your artwork without the expense of hiring a professional photographer?
With some time and effort, and a bit of money, you can take your photography to the next level. In this article, we’ll cover methods on how to photograph artwork, both simple and advanced to ensure high-quality results. We’ll also look at how you can fake it with a smartphone.
The common pitfalls of DIY artwork photography
When photographing artwork, there are a few persistent challenges you’ll need to navigate:
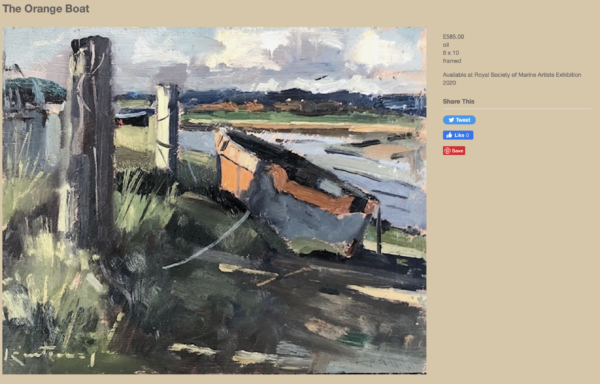
The most common issues among self-taken photographs are the lighting, the sharpness (blurriness) of the image, and the tendency of cameras to “bend” artwork, especially noticeable with square or rectangular paintings and 2D works.
Essential points for photographing artwork
Before we get to the techniques, here are the key points to keep in mind when photographing artwork:
- Even lighting: The image must be evenly lit, with no glare from flashes, shadows, etc.
- Color balance: The colors must be faithfully reproduced.
- Clean artwork: You want the artwork itself to be crystal clean, e.g., no dust or smudges on glass, etc.
- Precise positioning: The camera must be exactly 90° to the artwork and at a suitable zoom level.
- Post-processing: Once you have a good photo, you still need to ensure you have:
- optimized the color balance
- cropped the image (don’t have someone’s hand in the background, etc.)
- saved the image in a suitable format.
How to photograph artwork yourself, the easy way
With most modern digital cameras, it’s easy to take good-quality photos of artwork without any special equipment.
Wait for a nice overcast day
The easiest way to ensure even lighting is to wait for overcast weather and photograph the artwork outside. The 100% cloud cover in the sky acts as gigantic softbox, giving a nice, even covering of light. Direct sunlight will produce reflection and glare effects, which you want to avoid.
Find a place where there is direct uninterrupted light from above, like in your garden or on the roof. Avoid places where shadows might fall (e.g., near trees). For this technique, you need light from above — light from the large side windows on your studio still runs the risk of uneven lighting.
Get the camera positioning right
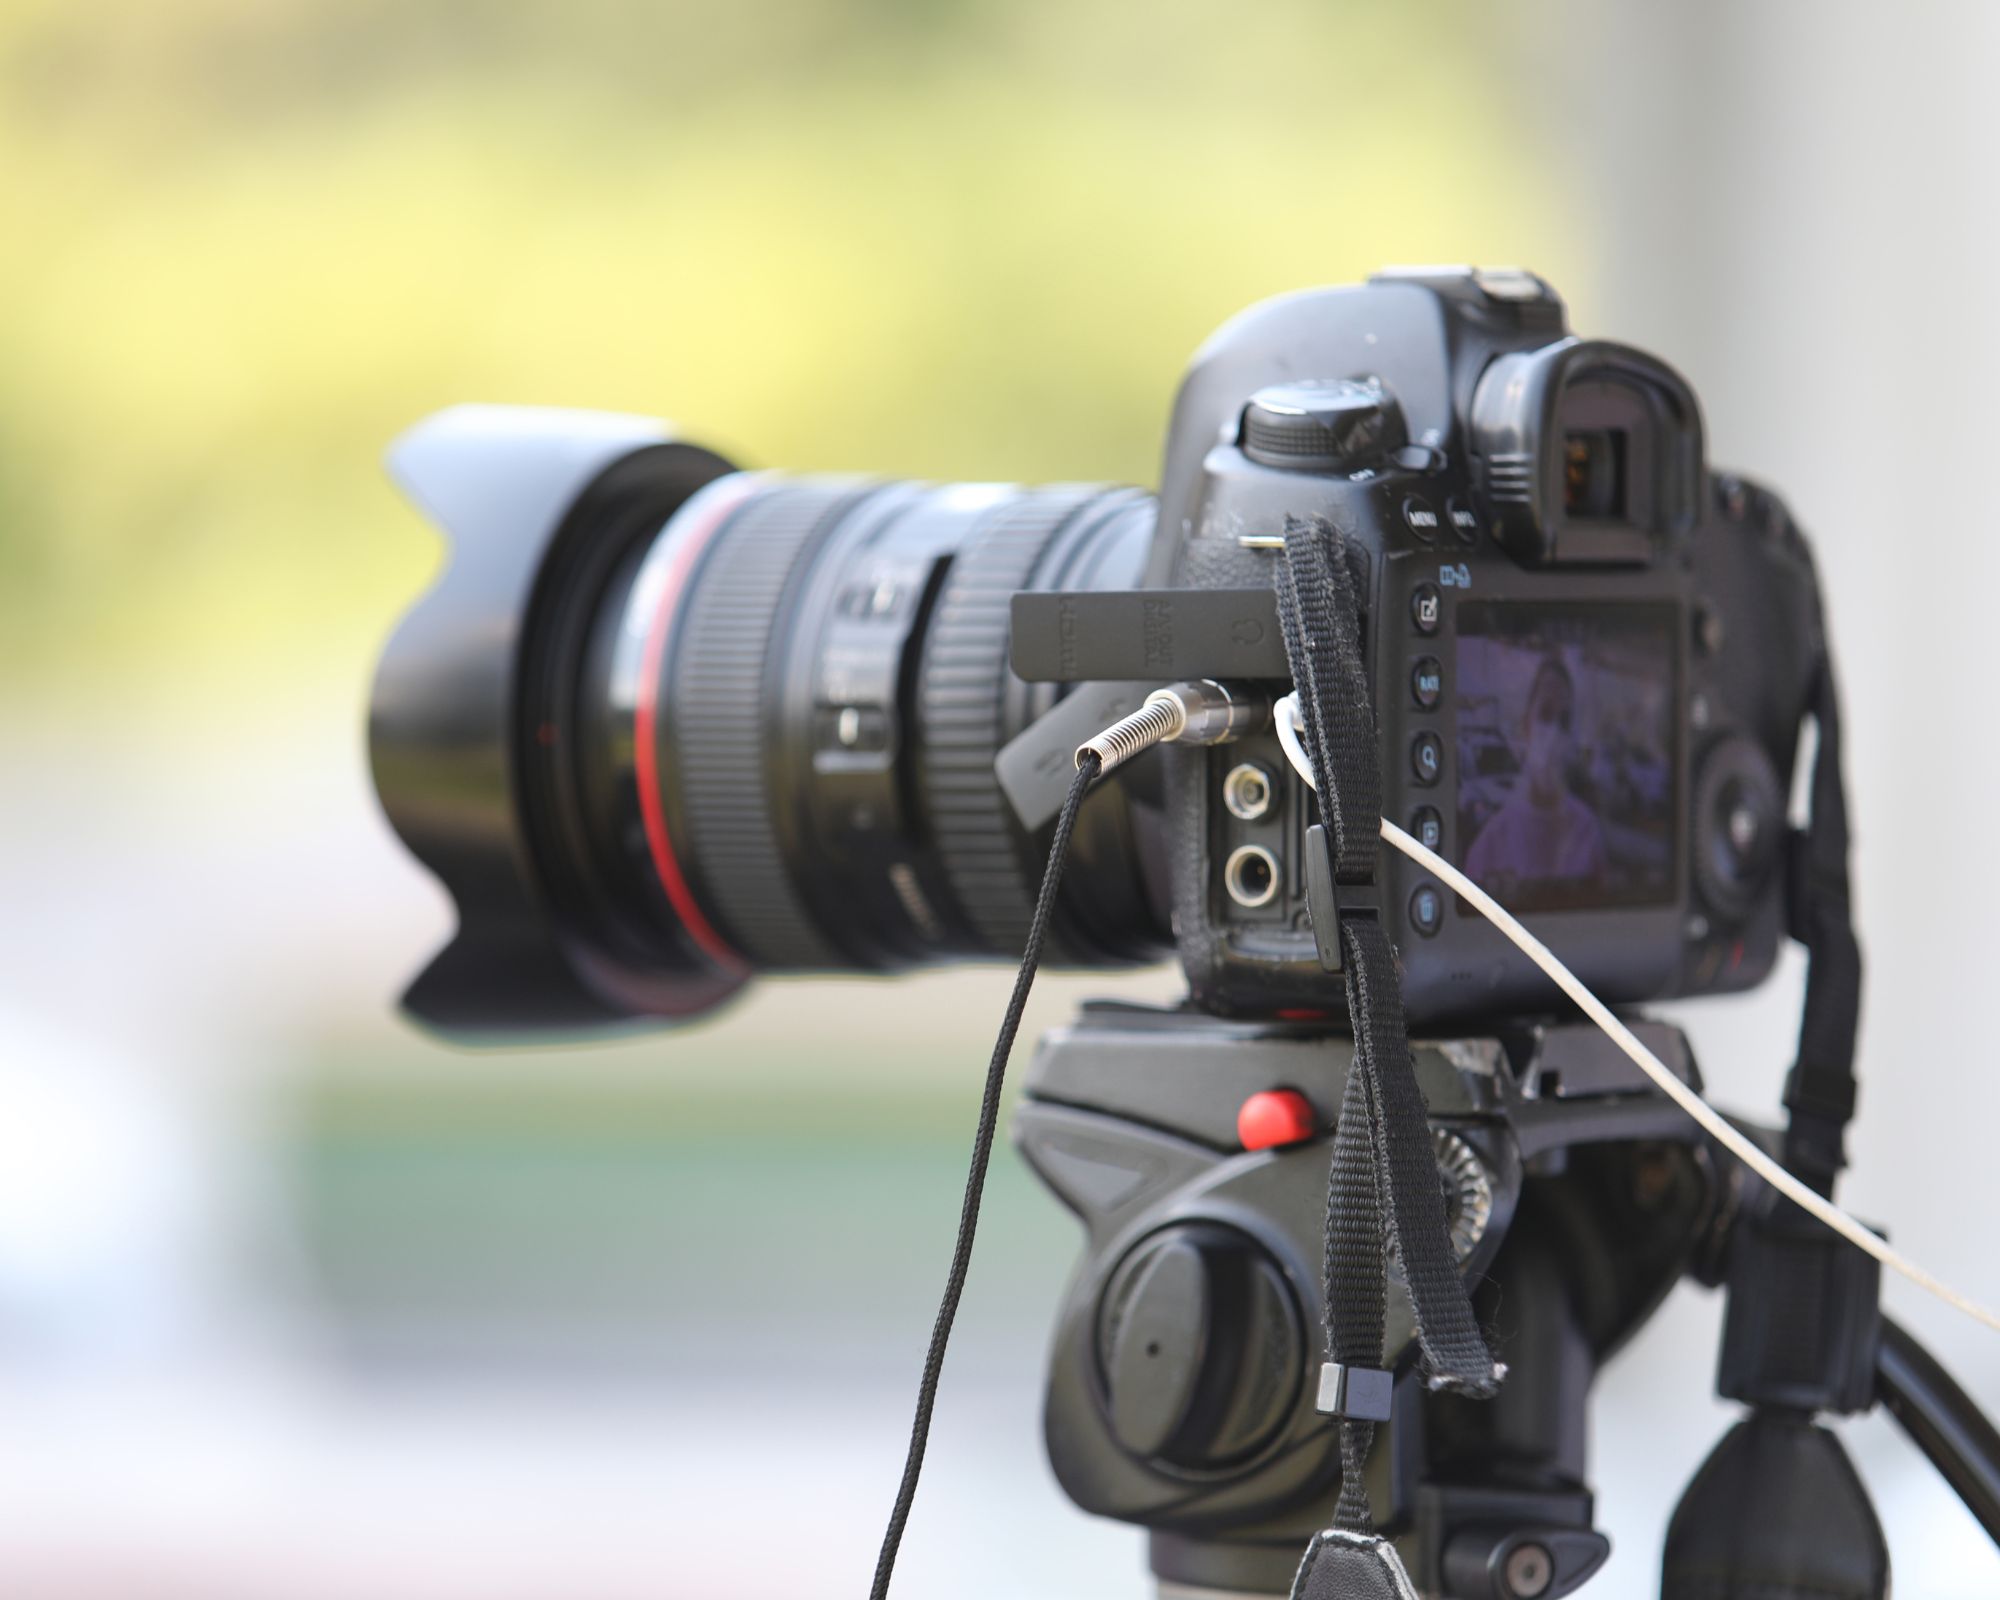
Using a tripod will make the job a lot easier, but with a steady hand and careful eye you can still take close to perfectly framed images. For best results, the artwork should be flat on the ground, with the camera held above it at exactly at a 90-degree angle to the ground. Make sure both the camera and the photographer aren’t casting any shadows on the artwork below.
Also, the lens angle should not be too wide so as to distort the image. For point-and-shoot digital cameras, make sure you zoom in on the image (the zoomed out setting is almost always too wide of an angle). For 35 mm cameras, somewhere in the 35 mm to 70 mm range should be adequate.
For best results
As mentioned above, ensure the artwork is clean, and consider removing glass frames (although if spotlessly clean, it should be okay).
Ensure you are taking images at the highest possible resolution and quality. You can scale down images later, but there’s no way of scaling up!
Once you have finished the photo shoot, use a batch processing program like Adobe Photoshop to speed up the post-processing. At the very least, you’ll want to apply “auto levels” to optimize the image. Either way, you’ll need to manually check each image is cropped correctly.
Equipment you may need
Copy stands
Ideally, if your artwork is not too large, use a tabletop copy stand, such as those from Bogen. Depending on the copy stand you purchase, it will come with two, four, or no lights at all. The latter may be preferable if you already have your own lights.
Tripods
If your artwork is too large for a copy stand, then you’ll need to use a tripod and free-standing lights to photograph your art. The tripod should be sturdy and legs braced with sand bags if necessary. Manfrotto make particularly good equipment. Also, make sure the tripod isn’t top heavy when you photograph art on the wall. It should be securely braced.
When you photograph art on the wall, it’s important to position the camera exactly parallel to your work. Use a level and measure the position of the camera so it faces the exact center of your artwork, both vertically and horizontally.
In brief, use a tripod to:
- Control the shutter speed. A fast shutter speed means a shorter exposure to light, while a slow speed means a longer exposure to light.
- Capture sharp photos. You can’t hold a camera still enough for longer than a millisecond, which will create a blurred image.
Camera settings and tips for photographing art
Use the best camera you can afford or borrow
If you can, use a DSLR (digital single-lens reflex) camera with changeable lenses. Spend some time learning how to use it. There are a scary number of menus and options, but you only need to know a few. Read the instructions or watch videos to gain confidence in using this type of camera.
Of course you can also use a phone camera or a point-and-shoot camera. However, the image quality won’t be as good, and they have limited capabilities regarding focus and light. If you only have a camera phone, follow the advice further down in this article to get the best results.
Try and use a longer lens
A 70 mm to 90 mm portrait lens is ideal. Only go as wide angle as a 50 mm lens. A wide-angle lens, such as 24 mm or 18 mm, will distort the frame of your image.
Be brave and shoot in manual mode
Use the manual settings to control the aperture, shutter speed, and focus.
Shoot with the lowest ISO possible: 100 is ideal
The higher the ISO, the more pixelated the image will be. Shoot with a low ISO and keep it pin sharp. Potential buyers will likely want to zoom in on your artwork, on screen, while printed catalogs need good quality, high-resolution images for decent reproduction.
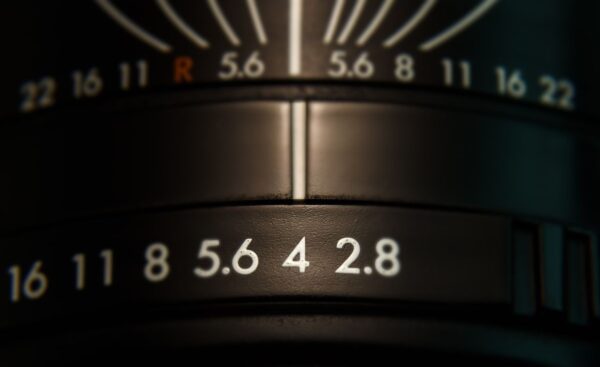
Photograph the wide shots of the artwork with a smaller aperture (e.g., f/7.1, f/8)
The f-number will change the depth of field on your image. This controls how much of the image is in focus. For artwork, you want it to be flat with plenty of detail. If you want to capture the close-up details, shoot with the lens more open.
Use the timer on the camera to avoid camera shake
When you photograph art, use the camera’s self-timer feature. This avoids tiny movement of the camera when you press it. That way, you can be sure there is no camera shake, which will blur the image.
Shoot using natural or neutral light
- Don’t use harsh light from a flash mounted on the camera.
- Spend time viewing potential spaces and note the time of day, so you know where the sun is coming through windows or doors.
- Ensure even light to reduce shadow and reflected light.
Mount 2D work (pictures, drawings, paintings) vertically on a neutral space
- Mount a 2D artwork on a blank white wall with no glass or Perspex over the work.
- Don’t lean work against a wall and shoot down at them at an angle, as it will distort or ‘bend’ your artwork. This bend calls attention to the photography (in a bad way), and not the artwork. Tip: For evidence of distortion, use graph paper while conducting your tests. Any distortion will be evident and you can adjust the focal length accordingly.
- Setting your artwork on an easel will also distort its shape.
- Get the light as even as possible across the canvas.
Frame paintings and 2D work symmetrically and focus on the center of the picture
- Experiment with your shutter speed (different exposure times will create images with a range of lightness and darkness).
- Take several photos of each shot and upload them to a computer to review them. You will probably need to take several shots to get it right.
Make changes to camera settings as you photograph
One of the keys to good professional photographs of artwork is to render the artwork as honestly and true to life as possible, especially if you are selling the work online. It is easier to adjust your camera as you take the photographs, using the camera’s settings to get different results. You don’t want to fix “mistakes” (adjusting the exposure/brightness/color) on the computer when post-processing and risk altering the image too much.

Start wide and then move in for detail shots
- Make sure you have captured the artwork in full.
- For sculpture, capture the work from all angles.
- Pick out details in the work you think reflect it best, e.g., the face of someone in a crowd in a painting.
- Point a single bright light (you can use a table lamp or the light on a camera phone) directly at the object to create a dramatic image, and consider filming a work in 360 degrees. Most SLRs have a limited filming option.
- Get as much coverage as possible. Take photographs from every possible angle, you may think you won’t need a photograph of the bottom of a painting, but if someone asks…
- Be slow, calm, and methodical.
- Take as many photographs as you need (then take some more).
Be true to the art
You are trying to capture the facts: the size, the colors, the materials, etc., in as neutral and realistic a manner as possible. You can, of course, get creative and take all of those arty shots for yourself and your portfolio afterward.

How much does it cost to hire a professional photographer?
If it sounds too complicated to do it yourself and can afford it, hiring a professional photographer means you can leave all the technical stuff to an expert. A professional will immediately be able to get the best lighting and set-up and sharply focused images that you need. All you need to do is make the coffee. Here are a few things to consider when hiring a professional photographer.
Don’t assume more expensive means better
Prices for professional photography vary widely. Photographers who offer their services at a lower cost than others may simply be less established, rather than sub-standard. Go online and look at portfolios. Look for images that are similar to the ones you want and how they stack up against images of similar artists.
Most photographers will work using a day rate, so they will take as many images as you like within that time.
Making the most of your time
You need to plan ahead to ensure you get the most from your photography session. You don’t want to hire someone for the day and then forget some important images and have to hire them back.
Use our shopping list below as a guide to getting a complete set of images. Begin with the most important images first in case you run out of time.
Be clear about what is included in the price
Find out what kind of post-processing is included in the price. For example, do you need images cut out from their background? This is a useful set of images to have and fairly quick for a professional photographer working with a digital editing suite like Photoshop to do.
Some photographers can bring lighting rigs or professional backgrounds with them. Find out what they offer and discuss if they would be useful.
Phone camera vs. professional camera
It’s hard for a photographer to recommend using a smartphone camera over a professional-quality camera. But sometimes, you need immediate images of work to go up onto a site — or you just don’t have the time or skills (or money) to use anything else. There are a few tricks you can use to help phone camera images look their best.
How to photograph artwork with a smartphone
- Go steady: Always use a tripod (a selfie stick works well) that can be spiked into the ground or placed on a table to ensure the phone is steady and avoid any shaky images that will affect the focus and how sharp the photograph is.
- Don’t use zoom: Move the camera rather than zoom in. A fixed lens camera that relies on zooming in will reduce the photo quality. Place the phone camera at the desired distance to your item.
- Be consistent: Once you have placed your phone in a good place, try not to move it as you take more images. Having all your items in a similar frame will help them look more professional.
- Use natural lighting. Choose a bright day but avoid photographing into the sun or with the sun behind you. Take a few test shots and look for things like harsh shadows. You may need to move around or even come back later when the sun has moved position.
And finally: take your time and take lots of pictures!
What photographs do you need of your artwork
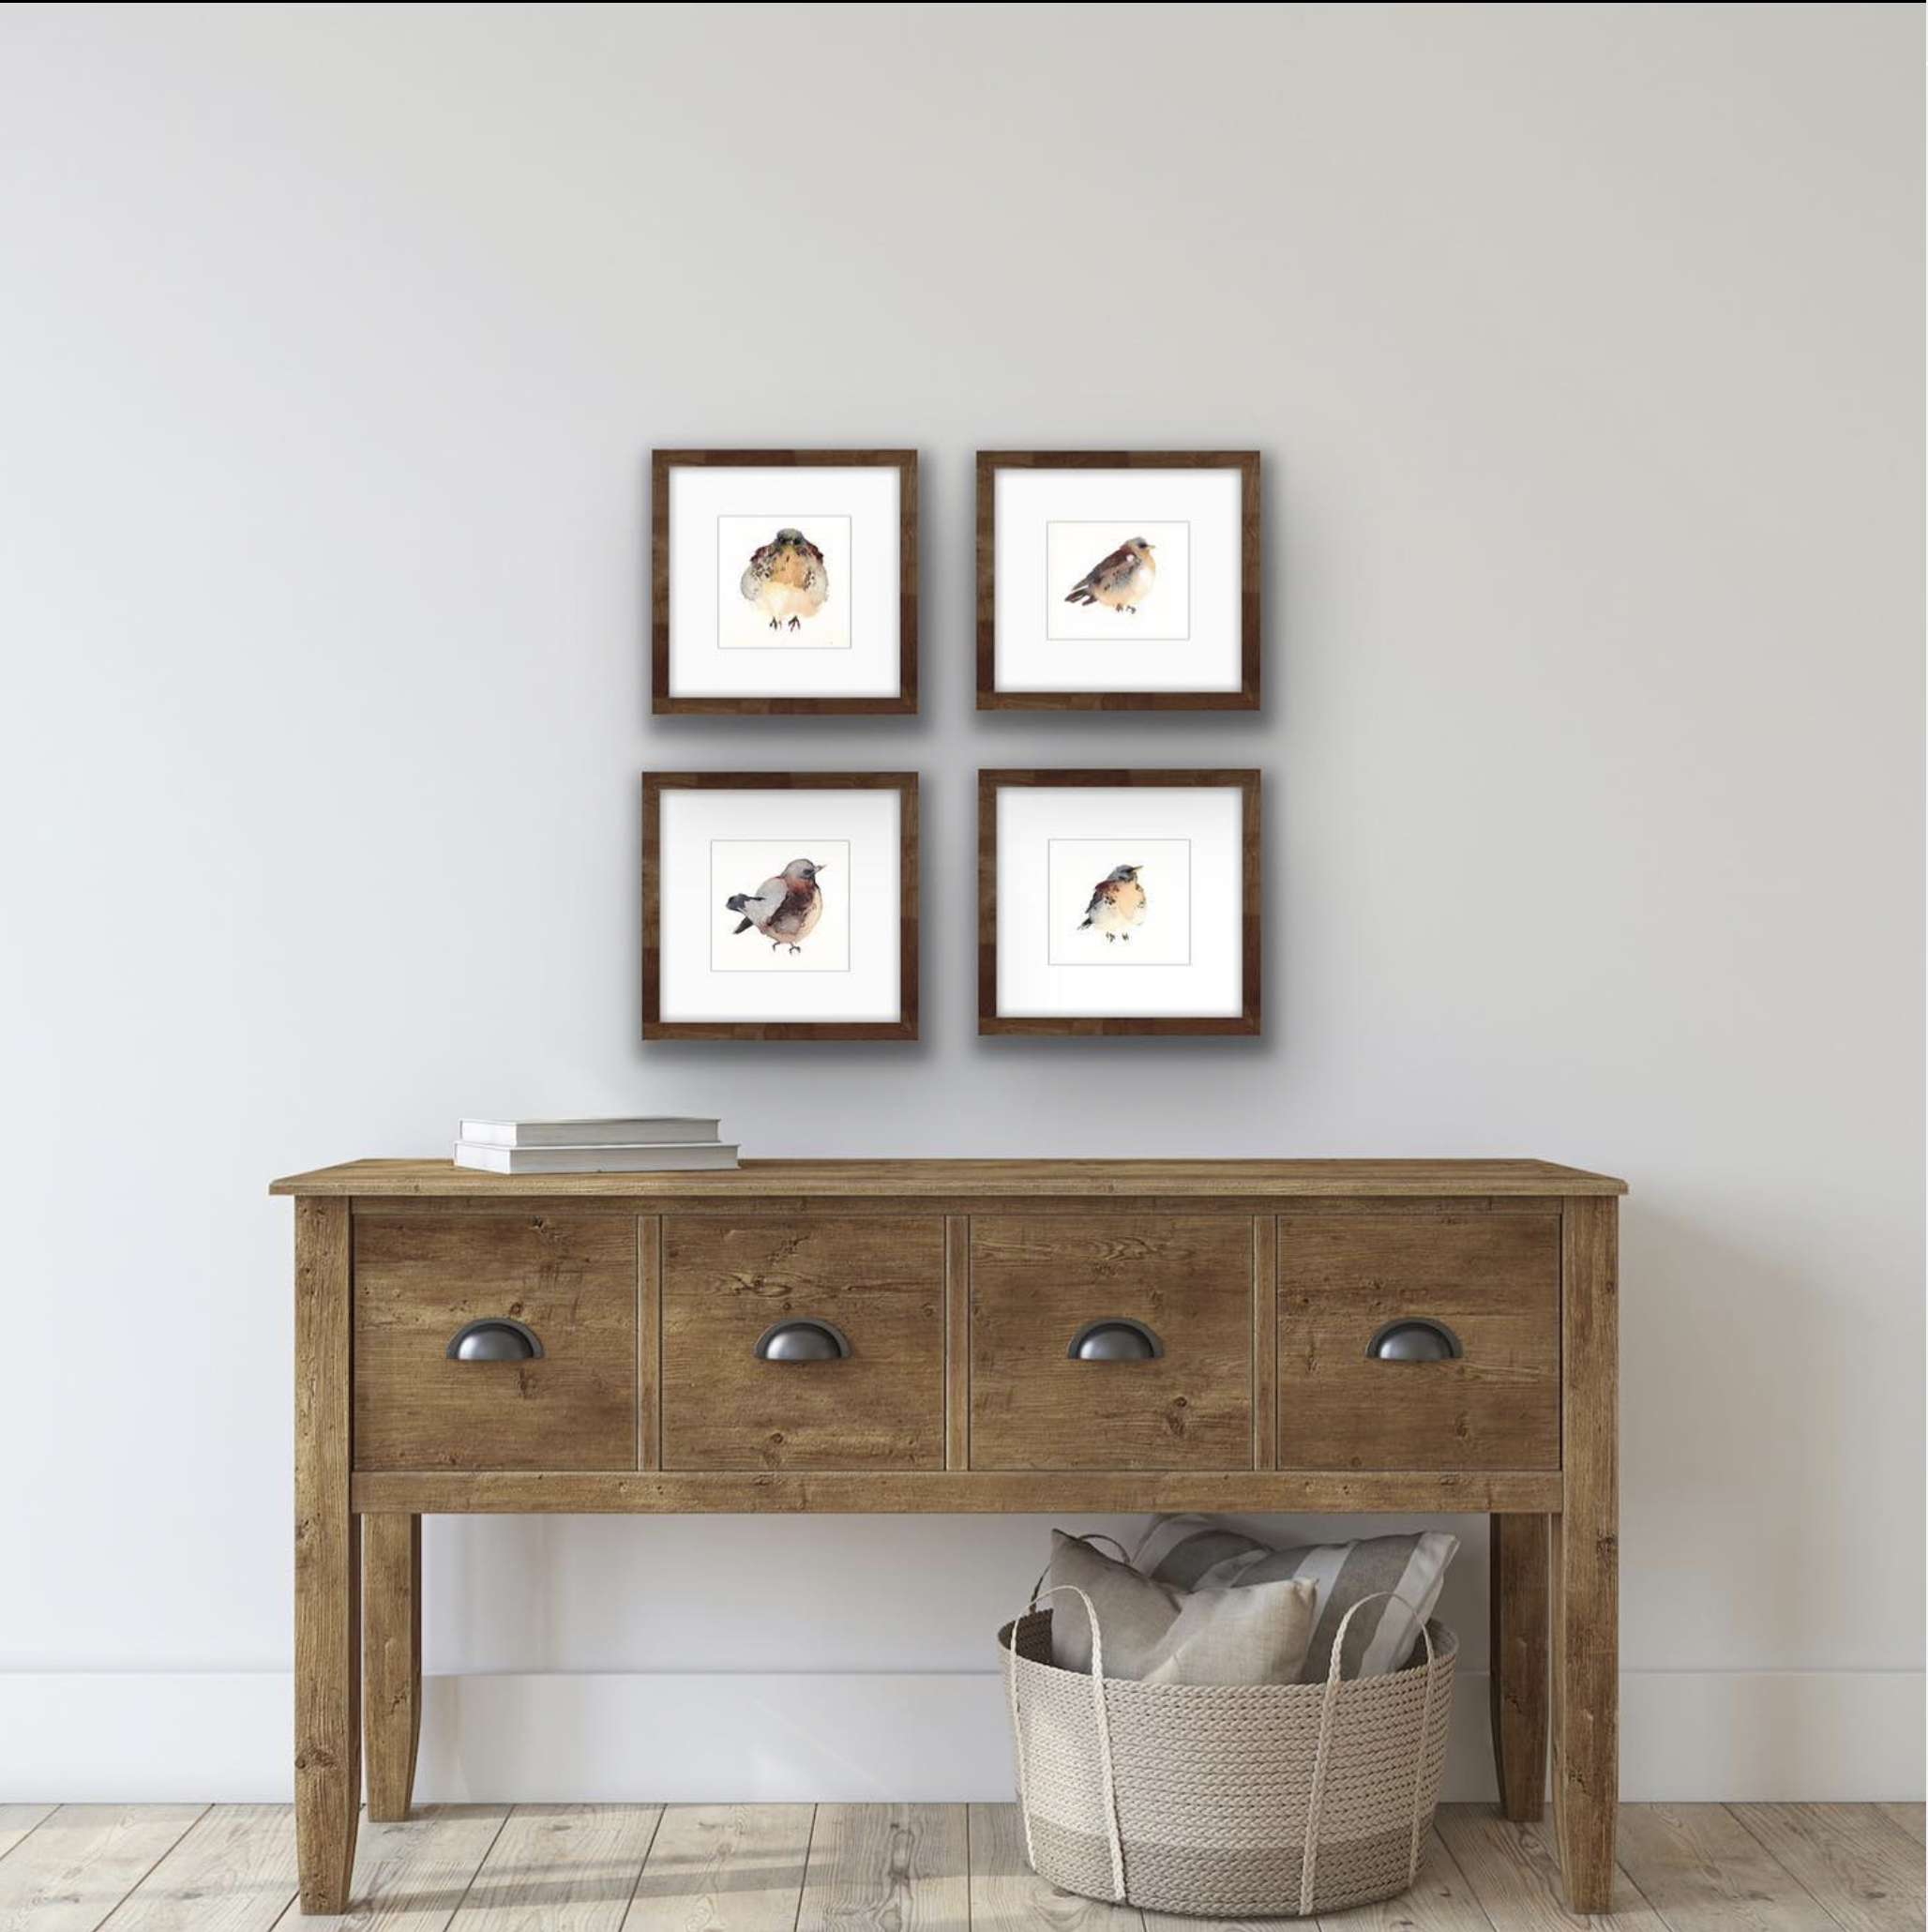
- A wide shot of several works together. If it is 3D work, this is the kind of picture that is used to show your work in a catalog or on the home page of your website.
- Capture photographs of yourself at work in your studio. These artist-at-work images are great for websites, news stories or press coverage.
- Final works in situ. These are what we call lifestyle shots. They give the viewer an idea of what the item will look like in a home setting, either on the wall of a living room, on a dining table or similar.
- Photographs of each item with a plain background. White is often the best color, but it can be difficult to get good results without lighting. This is where photo editing software can come in, as it can remove backgrounds or change the color at the click of a mouse.
- Capture items from every angle.
- Use something to give the item scale. For small items, you may want to use a ruler, but a familiar item works better. This might mean furniture or tableware, or people.
Follow all these tips, and you will have a stunning set of professional photographs of your artwork to use in catalogs, promotional materials and online.
This post was updated and republished on March 10, 2023.


More Stories
That's a wrap for Art in Bloom 2023!
A Vortex of Hoplessness – Maniscalco Gallery
How Personal Stories and Backstories Enables Word-of-Mouth Marketing for Visual Artists