
Artists by trade are considered competent employees. This is why, in the Renaissance, excellent masters would teach apprentices their craft from commence to end. The apprentice would see a painting start off as a wooden body, go to a stretched and primed canvas, then to a globe-renowned and priceless relic. This served the apprentice to find out and completely respect all the perform that goes into creating a finished painting.
Whilst we really do not often have the time to bring college students together for every phase in a system from commence to finish, we can teach them how to stretch their canvas. College students just take for granted that they can get art supplies with just one click on and have them arrive on their doorstep two days later on. Students will be ready to see firsthand how significantly time and planning can typically go into a painting just before paint at any time enters the picture! It can also be really spending budget-pleasant to stretch your individual frames, primarily if you have a secondary or advanced painting class. Learners can also build customized measurements and styles.
Currently, we will split down how to extend your possess canvas with professional guidelines along the way.
1st, let’s appear at the provides you will need to stretch your canvas:
Equipment for the job are simple. Here’s what you will need:
* If clamps are unavailable, you can also use brads or flat “L” brackets.
Right after you get the provides and equipment, start off stretching a canvas!
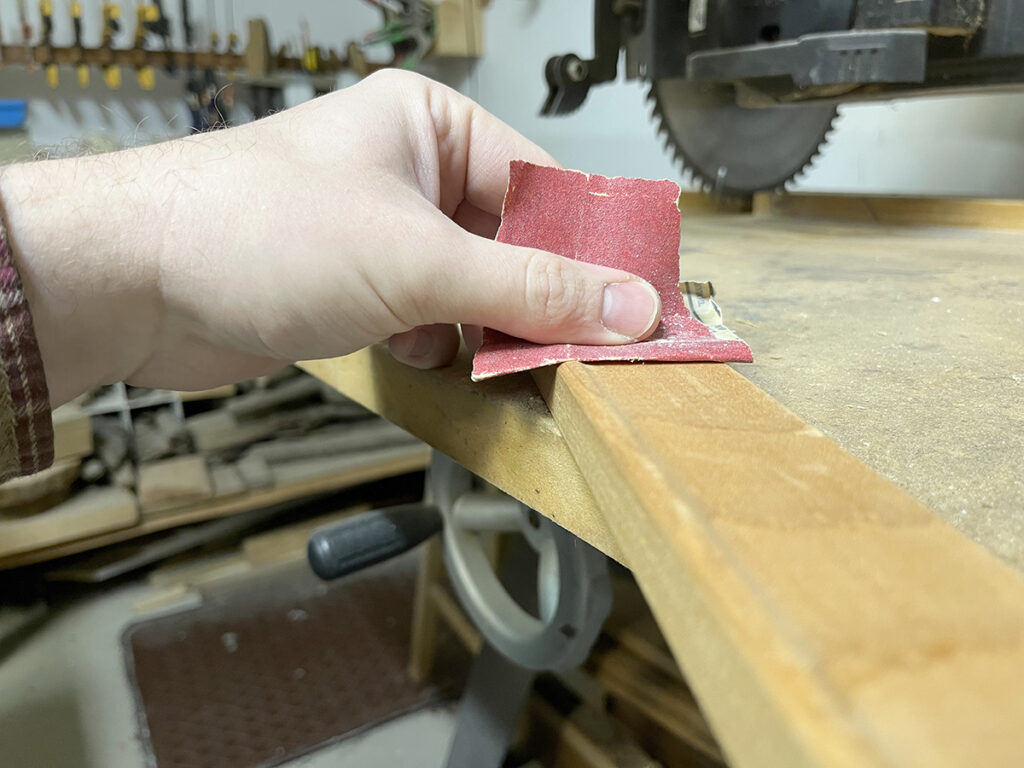
1. Spherical or angle the wooden edges.
Use sandpaper to spherical the inside edges of the wood. One more choice is to use a desk noticed, router, or planer to angle the edge at a 45° angle. This ensures the wood stretcher frame will not be obvious from the entrance of the painting. If you do not execute this phase, you will see a sharp line from the edge of the wood underneath your completed painting that is hard to conceal.
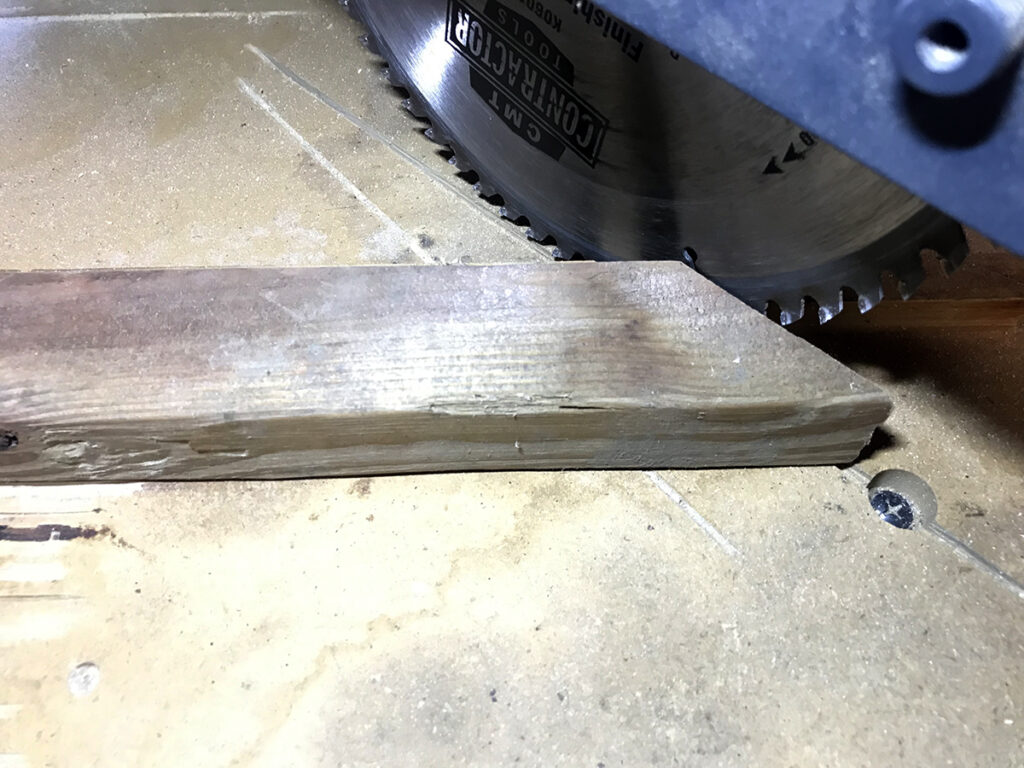
2. Assemble the stretcher frame.
Establish the length and width of your canvas. Minimize your 1″ x 2″ bars to the dimensions you will need. Use a miter lower so each piece is at a 45° angle. Evaluate from the extended facet to determine your measurements. Dry in good shape your items and make guaranteed the corners line up to make a 90° angle.
3. Glue the stretcher frame.
If the dry in good shape is satisfactory, implement a compact bead of glue to each and every mitered angle.
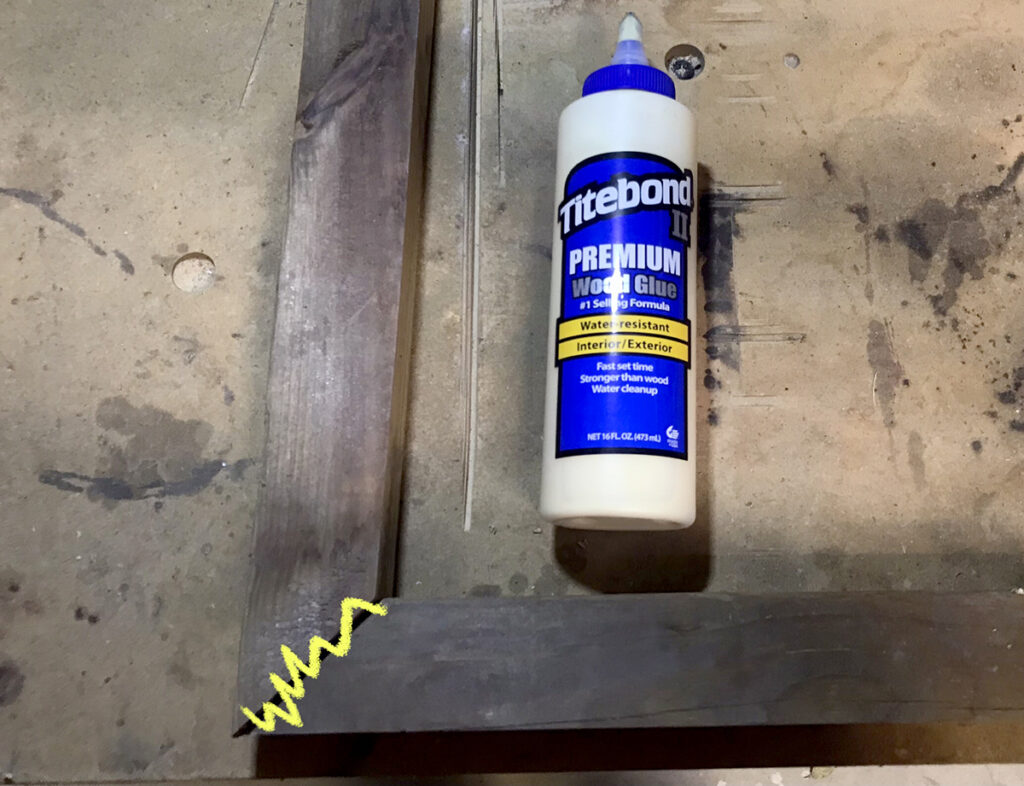
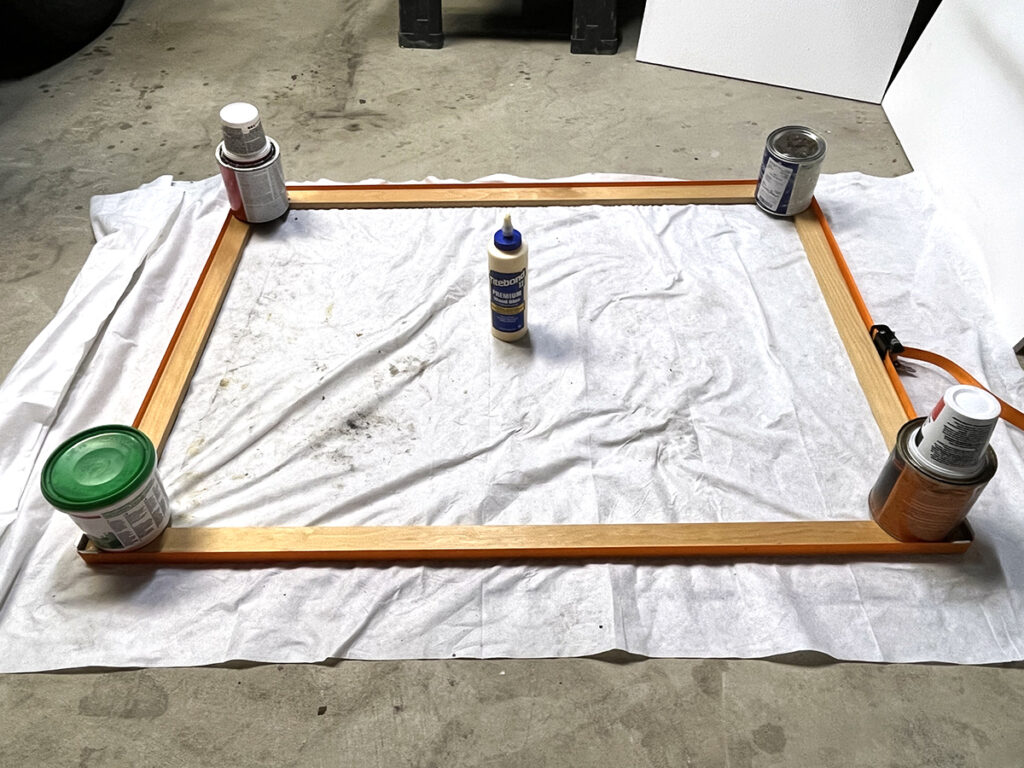
4. Clamp the stretcher frame.
Clamp the 1″ x 2″ bars together utilizing clamps or a framing strap. It is also encouraged that you spot a heavy object, like a book, bodyweight, or paint can, on each corner to keep it from warping. Wipe surplus glue off with an previous rag.
If you do not have any clamps, you can glue the miters and brad or “L” bracket the corners alongside one another.
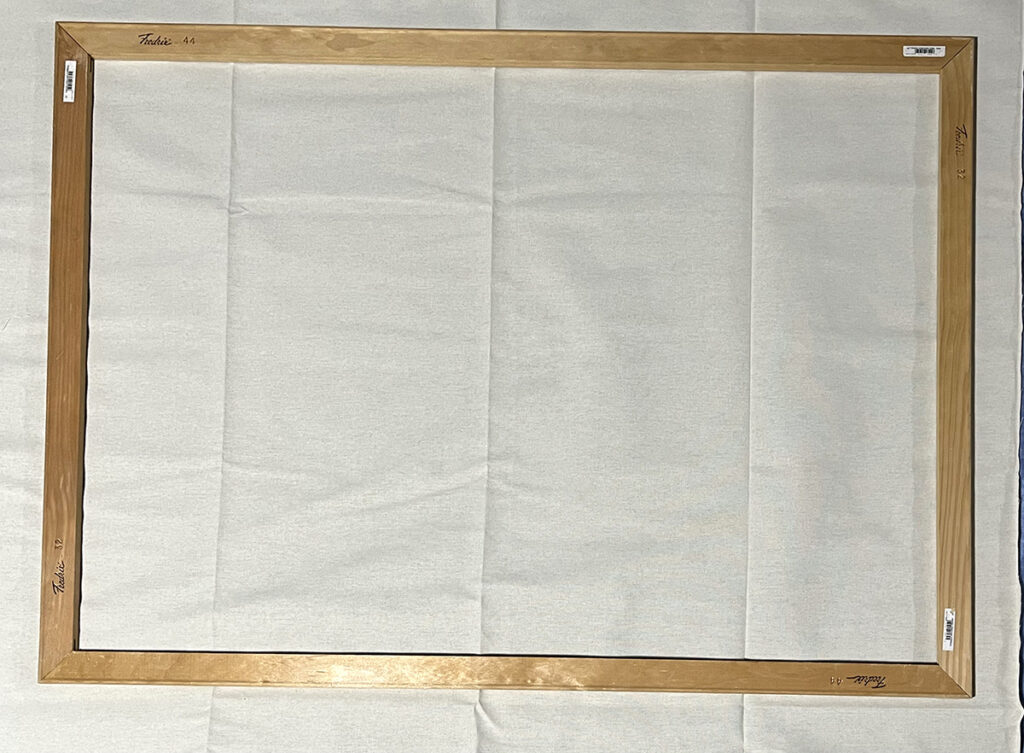
5. Minimize your canvas.
Use scissors to reduce your canvas two or three inches bigger than your stretcher body. For case in point, if your stretcher is 16″ x 18″, reduce the canvas to 19″ x 21″. This leaves ample room to extend the canvas above the back again of the stretcher body and staple it in put.
6. Staple the canvas to the stretcher frame.
Lay out your minimize canvas and spot your stretcher body on major. Pull the edges of your canvas as tight as attainable and staple them to the back of the stretcher body. You can use a pair of canvas pliers to stretch the canvas.
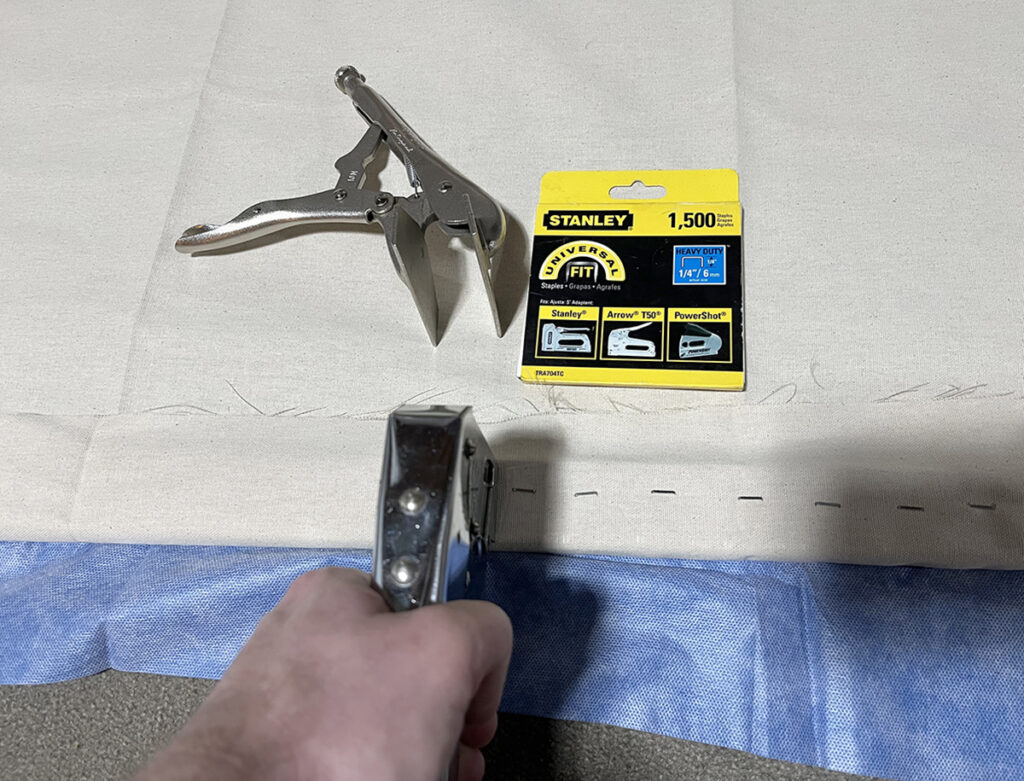
To prevent the canvas from shifting, start out with 1 “tack” staple on every single facet of the canvas to preserve it in spot. Start off on one aspect and staple your way close to the canvas. Depart a modest room in involving staples, but do not skimp. Hold a staple-size area amongst each individual staple to be certain a robust, restricted canvas.
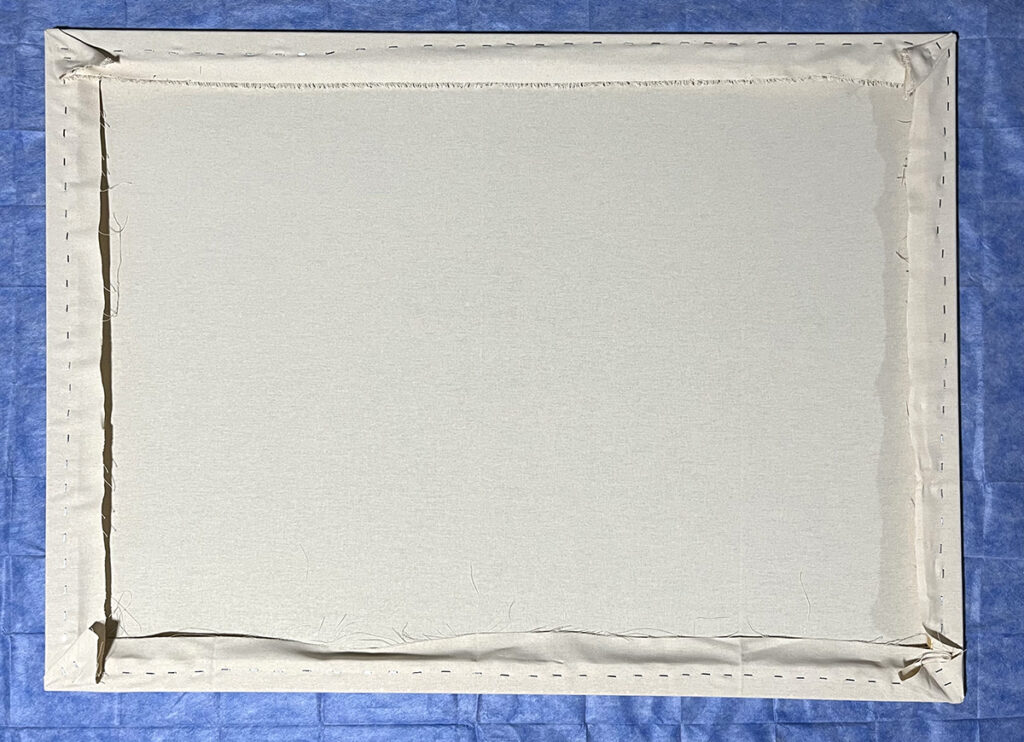
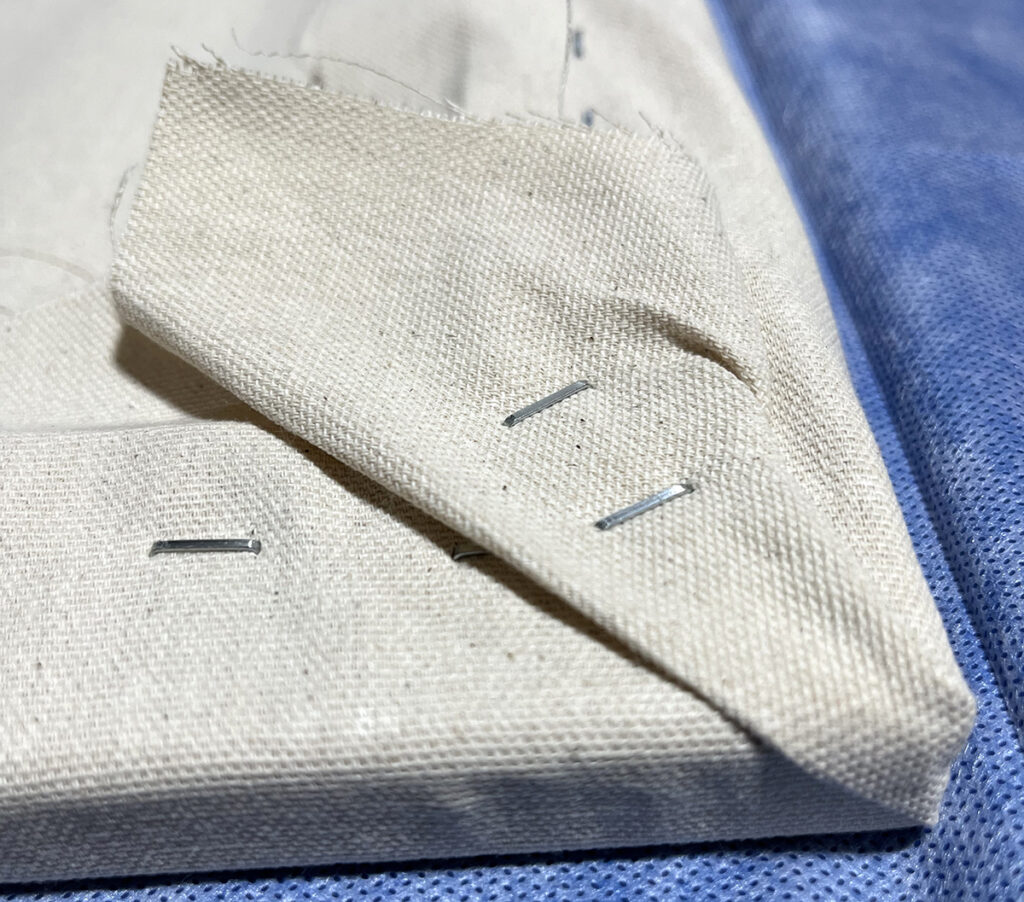
For the corners, fold them neatly and staple them in place with a couple of excess staples.
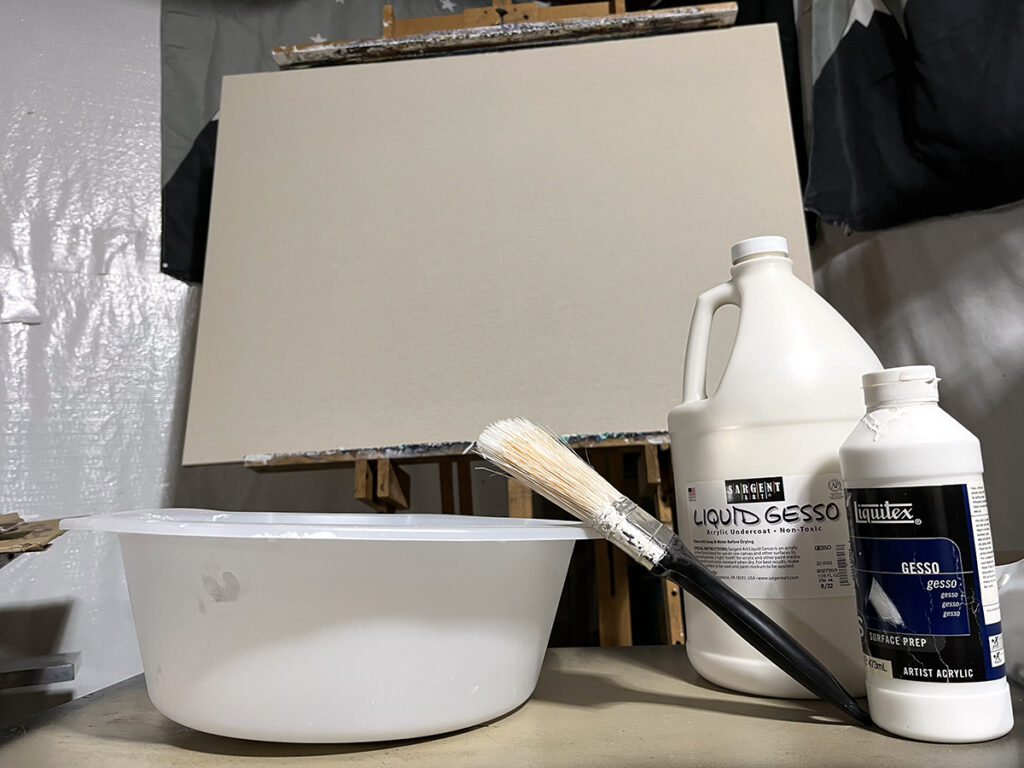
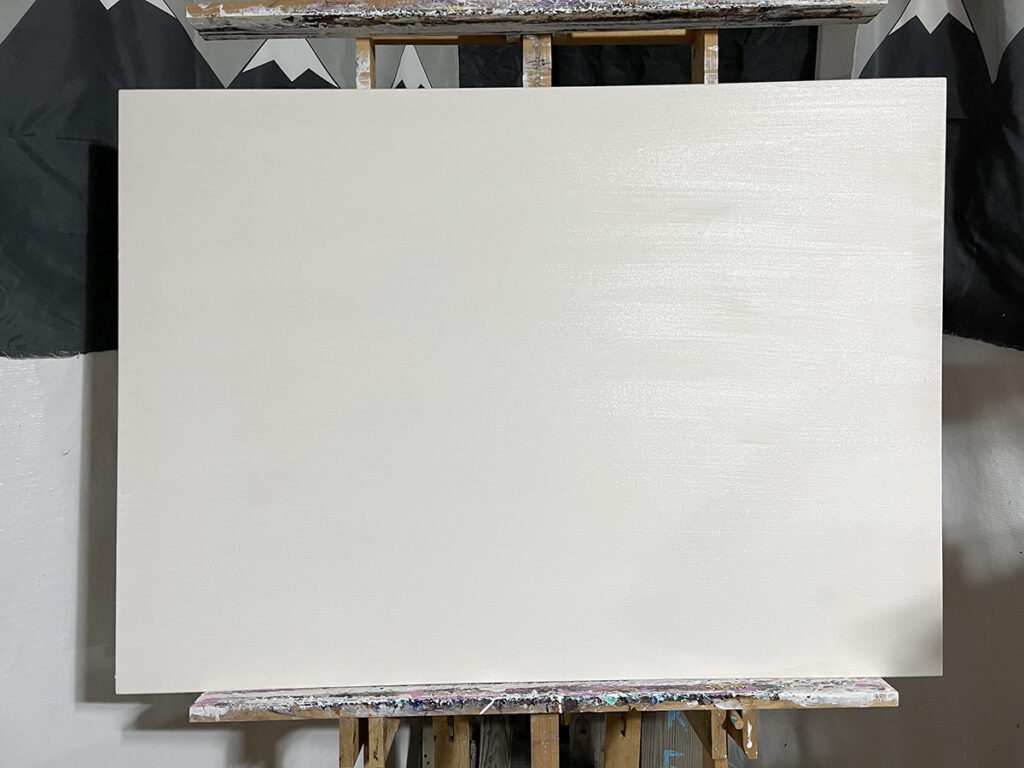
6. Primary the canvas.
Use a large brush and gesso to prime your freshly stretched canvas, like the edges. Utilize a minimal of two levels of gesso and hold out 30–60 minutes between coats. You can usually utilize a lot more coats if you want much more coverage. Permit 24 several hours for the gesso to dry entirely right before portray on the area.
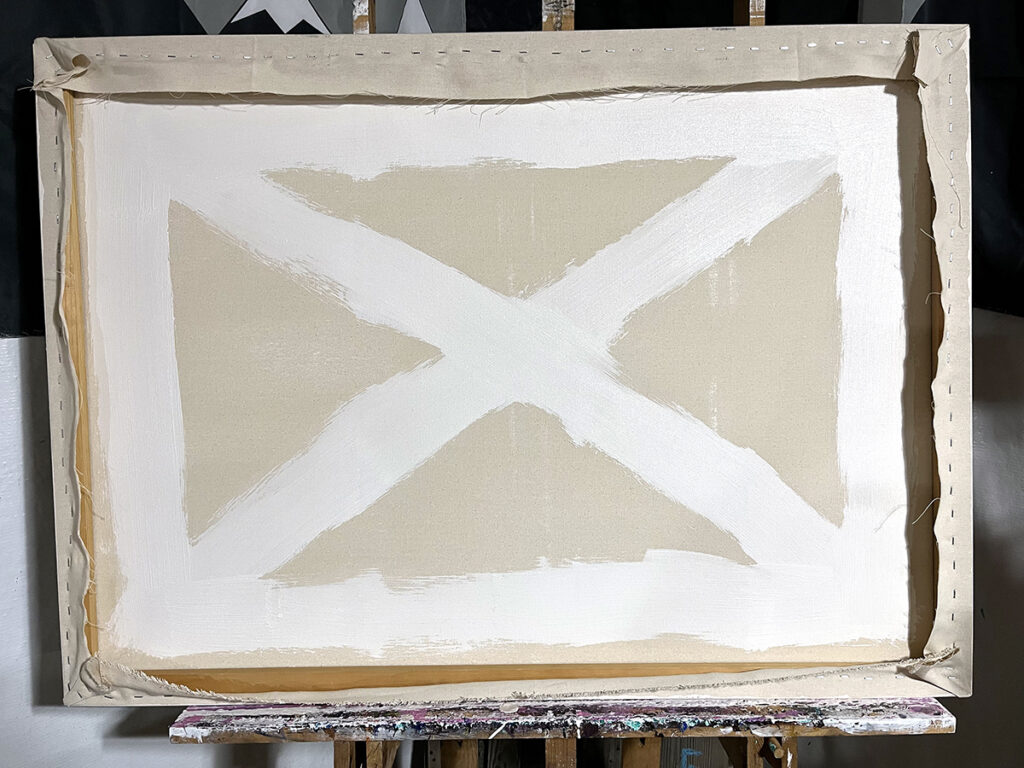
If the canvas appears a little unfastened soon after the gesso is dry, flip the canvas over and paint a big “X” or sq. on the again. This will tighten the canvas just a little bit!
No matter if stretching canvases for experienced or individual use, educating or finding out this craft is a must have. It carries on helpful abilities and can take college students from the begin of prepping a content to the finish result for a total artwork generation expertise. With a couple materials, learners can make customized canvases in no time for a portion of the selling price. We hope you give this course of action a check out and see how very simple it is!
What will you paint on your recently stretched and gessoed canvas? Check out these Professional Packs for some suggestions:
Share your pro recommendations for stretching a canvas!
What other artwork trainer DIYs do you want to see lined?


More Stories
Jan Brueghel the Elder (1568-1625)
How Our Ultra Limited Edition Ventured Into the Unknown
Use Your Mailing List | FineArtViews